 clayground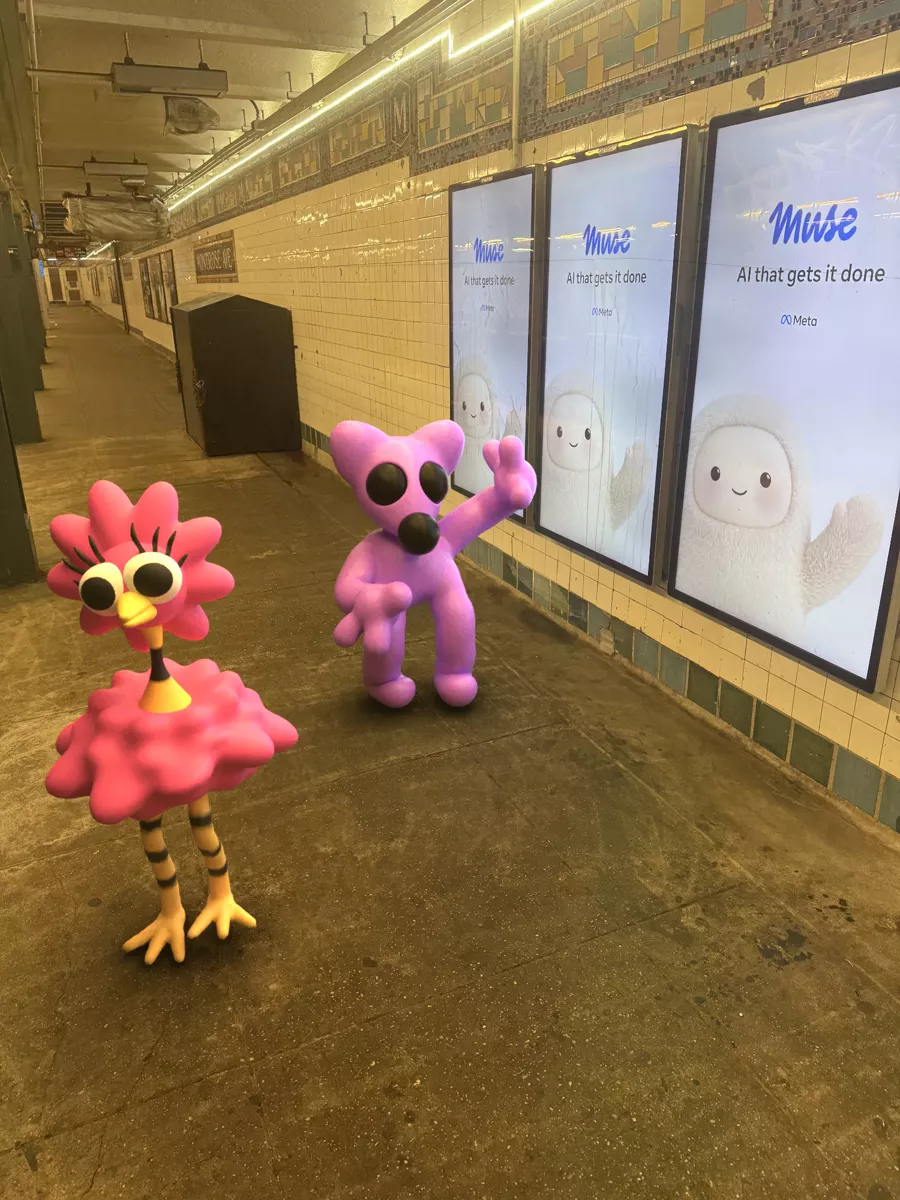
1. Start with one big shape
Begin with a single ball for the head or body. Resist adding features. Decide the character’s silhouette first: round and friendly, tall and grumpy, small and spiky. A strong silhouette reads from across a room. Never sculpted in a headset before? The VR sculpting basics cover your first ten minutes.
2. Block the head
Push in eye sockets, pull out a brow and a nose, and add a lower jaw. Use Smooth between every change. Turn the head often; a face that looks good from the front can look flat from the side.
3. Use symmetry, then break it
Symmetry gives you matching eyes and ears in seconds. Once the basic face works, turn it off and nudge one eyebrow, tilt one ear or twist the mouth. Small asymmetry is what makes a character feel alive.
4. Add parts on separate layers
Put ears, horns, arms and hats on their own layers so you can move, resize or delete them without damaging the head. Layers also make animation possible later.
5. Colour last
Paint big colour areas first, then details such as pupils and cheeks. Keep a limited palette of three or four colours; it looks intentional and cleaner.
6. Save and export
Save often. When you are happy, export a GLB to show it off, drop it in a game engine or take it into Blender.